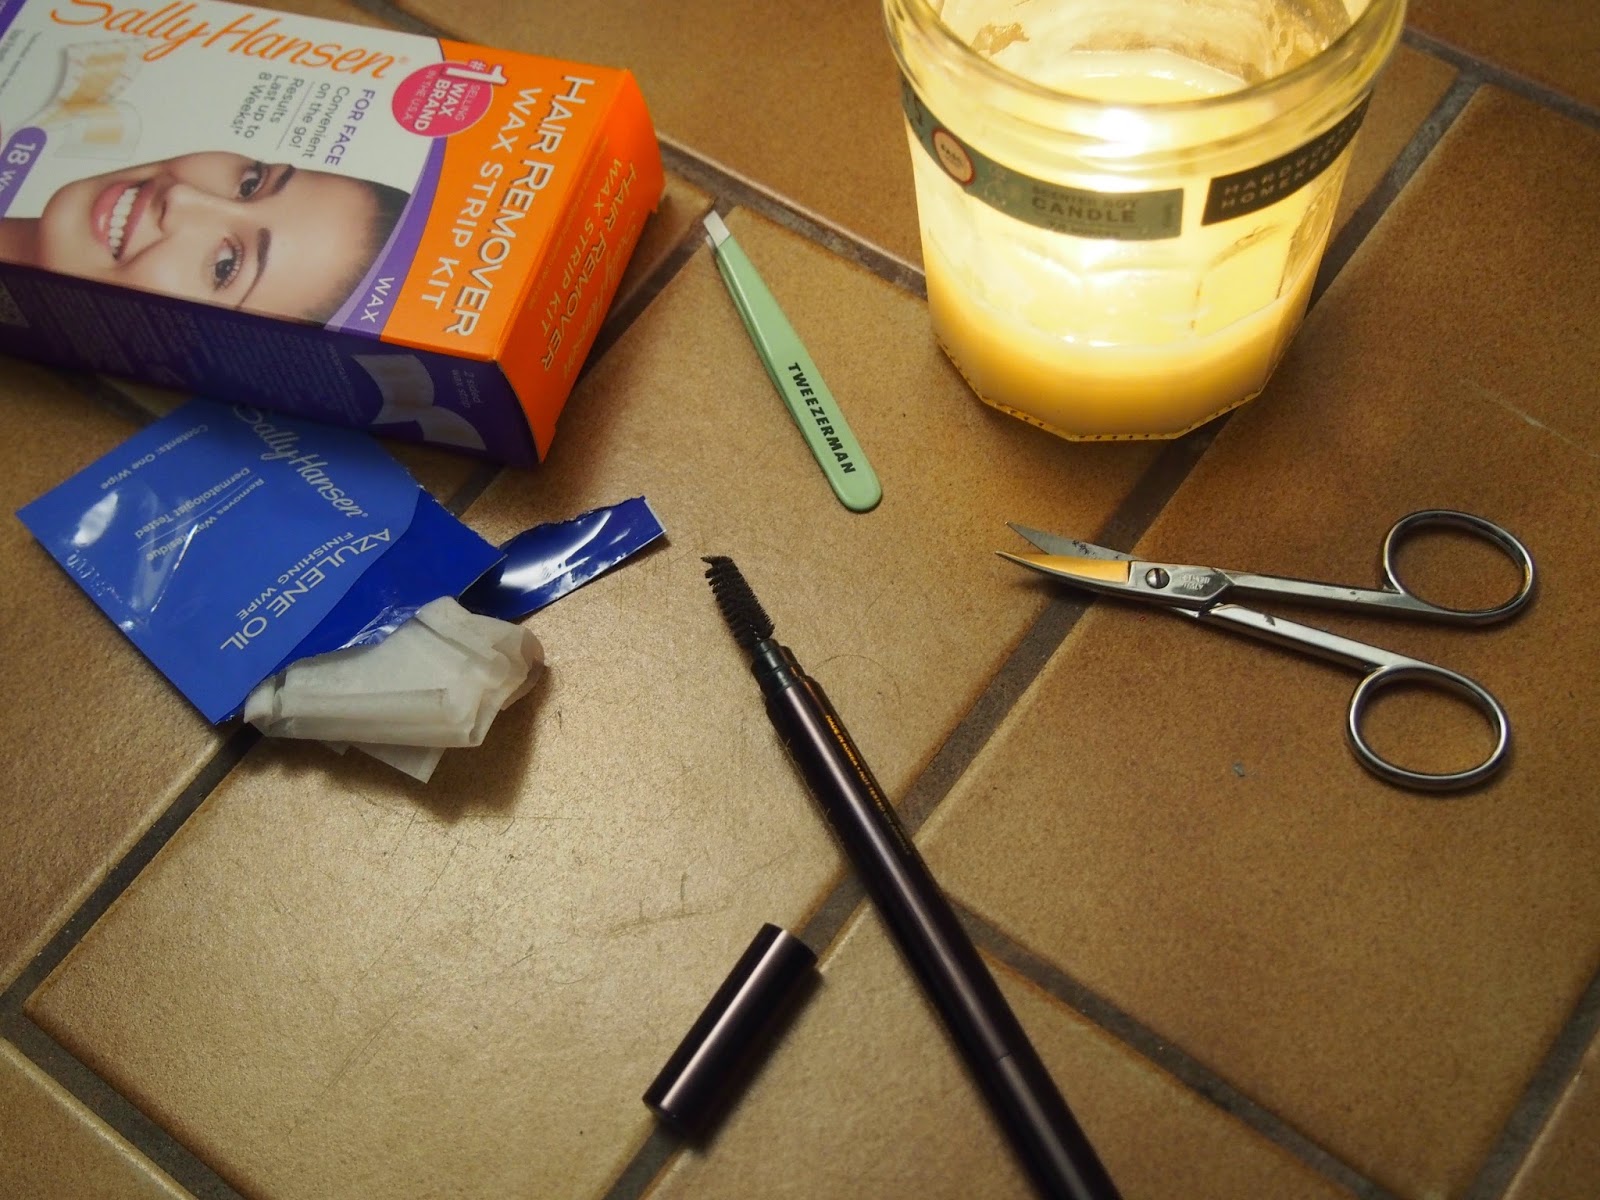
I have been a long time advocate of do it yourself eyebrow grooming.
I know every time I say this I can see the shock on people's faces.
What?!
Do them yourself?
Yes.
Do them yourself.
With a few simple tools, about twenty minutes and a good magnifying mirror your brows will be back with no appointment and no botched jobs.
First: Clean yo skin! This way the wax (at least I think it's sort of wax) gets closer to the follicle for a clean removal.
Next I like to take the hair removal strip and hold it up against my brows to get and idea of the general shape I want and where I want the hair removed. You can trace this space out with a pen if you want but now I just eyeball it and cut the strip to the general shape I want.
The strips I am using here, and have used for years, are the Sally Hansen Hair Remover Wax Strip Kit For Face. Truthfully these strips are the same in all of the different kits (body, leg etc) that the brand offers. Buy the full body kit and cut the strips to size. It's more cost effective than this particular kit but, for $2.99 at Harmon I really don't mind it in a pinch.
To heat the strip I completely disregard the directions. It says to rub these in between your palms to heat and soften the wax. Um...no. This never gets the wax hot enough and it will lead to a painful experience.
Promise.
To warm things I heat the wax over a candle very quickly and not too close to the flame to create the perfect waxy texture.
If open flames aren't your thing a hair drier will also get this done well.
Believe it or not I don't own a hair drier.
Let the wax cool briefly and apply to your brow following the guideline you've cut into the strip. Press down firmly, take a deep breath and, pull that sucker off quick. Against the grain of the hair and fast. The speed really minimizes the sting I think.
I generally leave the wax bit here.
Sometimes I'll clean up in between my brows with the wax but, only if I've let it go too long. Normally that's an area I prefer to tackle with tweezers.
I take the Azulene Oil that comes with the kit and wipe away any excess wax and stickiness. Any oil will do this and since this kit comes with wipes instead of a bottle eventually I will have to utilize my coconut oil for this.
Then I go in with my tweezers. This time around I am using the Tweezerman Mini Slant Tweezer that I picked up early last month. They are insanely accurate, even in the small size.
My technique here is to take my time and and get a solid grip on the base of the lash and, when you feel the hair is gripped tightly, pull away quickly. Again, the faster you go the less it hurts.
My friend in college taught me this and it's one of the things that convinced me I could do this myself.
I forgo plucking above my brows at all unless its a very long obvious hair because I find this is the fastest way to derail the shape you want.
Finally I take a spoolie and brush the hairs straight up. I press the spoolie firmly against my skin and gingerly trim away some of the length at the very tip of my brow with some tiny scissors. (In this case nice sharp sewing scissors but you can get some specifically for the purpose.) If I skip this I can get a little old man brow thing going on with wiry little suckers sprouting out in all directions but, if your brows are finer or naturally shorter you may not need this step.
...and really that's it.
Typed out it seems to go on forever but if you do it once I swear you won't go back. After a while it becomes so second nature you can get it done in five minutes.
Full disclosure: I have botched this process once and only once in 6 years of DIY brows. Eventually it will happen and there isn't anything you can do but I think you are still going to get a brow you are happier with doing it yourself even if you have to fill in a bald patch for a week or two ;)
What do you think? Would you ever do your brows at home? Do you already?


No comments:
Post a Comment